Netlify Manual DNS Configuration
28 May 2019
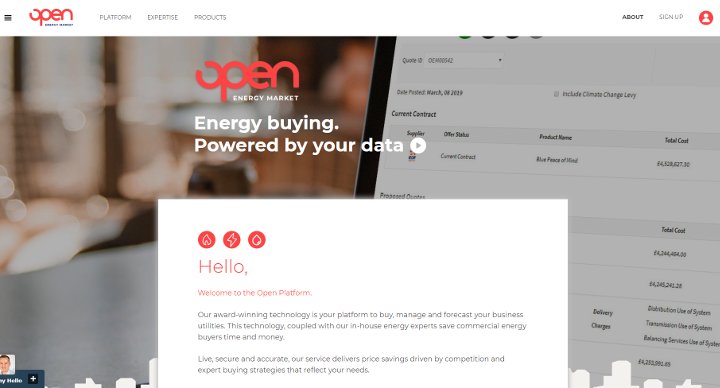
Photo: Open Energy Market
This past week we pushed out a new site at Open Energy Market. Built using Hugo and deployed on Netlify it is the start of an expandable and agile site which we have big plans for.
Normally when I deploy sites on Netlify I migrate the domain nameservers over to Netlify as well. On this occasion, due to our subdomains and internal security, this was not an option. Instead, I had to set up the DNS for Netlify manually. While not hard, it was more buried in their documentation than it could be. I thought I would cover it here as a point of reference.
The first step is to associate your domain with your Netlify site. You do this by going to the Domains section of your site’s configuration. Here you will add your custom domain, www.myfabnewsite.com for example. When you save this then Netlify will also add a record for your naked domain. This is your domain without any subdomains such as www, myfabnewsite.com for example. This is to allow their automatic domain redirects to work.
To get your domain working you need to update both your naked domain and your www subdomains as follows:
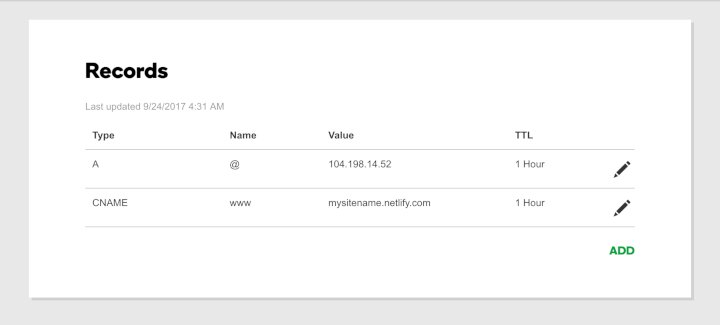
- Update your DNS A record’s Value to 104.198.14.52 which is the Netlify load balancer’s IP address. Your A record will have a @ in the Name field.
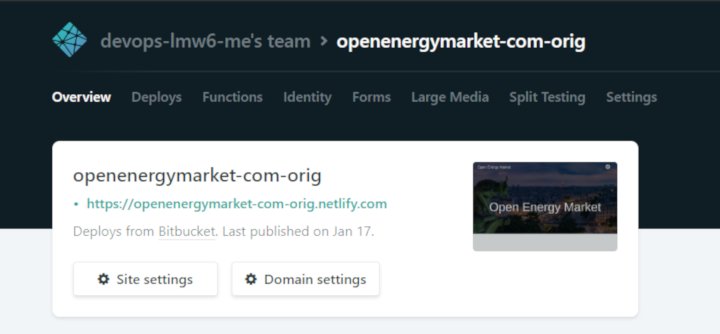
- Update your www CName record to point to the name of your Netlify site. A CName record is used to define subdomains such as www. The record to update will have CNAME in the Type field and www in the Name field. In the shots below (which are obviously not our real details for obvious reasons) you would take the openenergymarket-com-orig name from the Netlify site and add it to the CName record which is showing mysitename.Netlify.com below.


I would suggest that you reduce your TTL value on these records to the minimum value supported. This will reduce the amount of time it takes to test your changes. You can always change them later should you need to when you know it is working.
The final issue we faced once our DNS was set up was that Netlify had only issued a www.domain.com SSL Certificate. Netlify uses the Lets Encrypt authority to provide SSL certificates. It is all done automatically from a button click or when you add your Custom Domain. In this case, it had not created a certificate for the naked domain. It appears that you need to allow the DNS to correctly propagate. Once it has done so you can click Renew Certificate in the SSL section of your site. It then generates a wild card certificate for your domain which covers all variants of it. Naked and subdomains are all secured. It was just slightly frustrating that you have no control over this and the UI feedback was limited.
Now you should have your site running with your domain all secured. If you have any feedback around this post or have trouble with any of the steps then please contact me via twitter or email.
 Welcome to my site and blog. You can find out about me and read my thoughts on code and technology, start-ups and building things.